
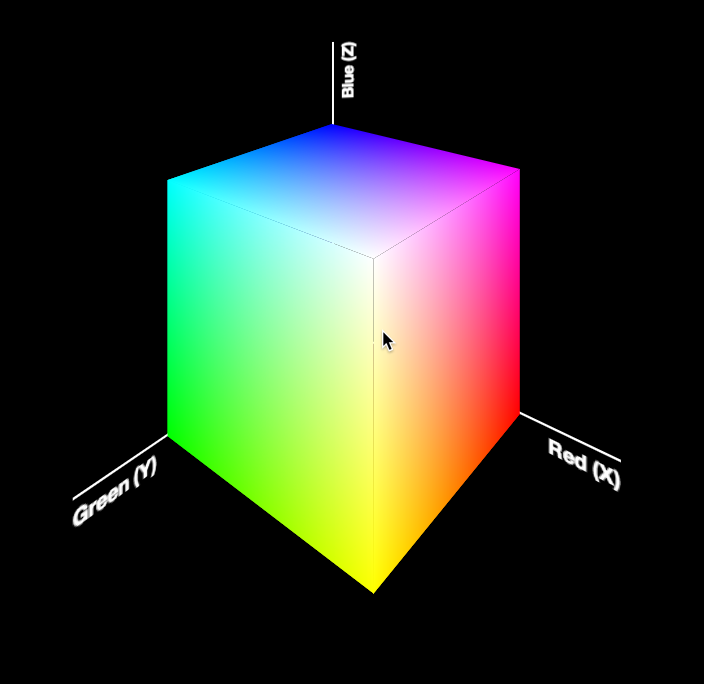
 Today, I was giving the opening keynote at Codemania in Auckland, New Zealand. It was a talk about color from a math/dev perspective. It went quite well, despite my complete lack of sleep. I mean that quite literally: I hadn’t slept all night. No, it wasn’t the jetlag or the nervousness that kept me up. It was my late minute decision to replace the static, low-res image of an RGB cube I was using until then with a 3D cube generated with CSS and animated with CSS animations. Next thing I knew, it was light outside and I had to start getting ready. However, I don’t regret literally losing sleep to make a slide that is only shown for 20 seconds at most. Not only it was super fun to develop, but also yielded a few things that I thought were interesting enough to blog about.
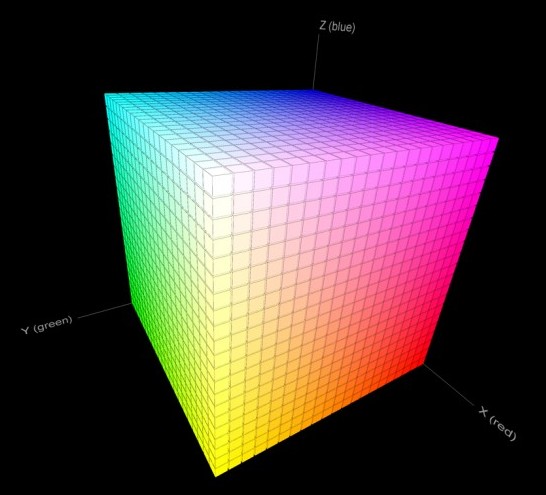
The most challenging part wasn’t actually the 3D cube. This has been done tons of times before, it was probably the most common demo for CSS 3D transforms a couple of years ago. The only part of this that could be of interest is that mine only used 2 elements for the cube. This is a dabblet of the cube, without any RGB gradients on it:
The challenging part was creating the gradients for the 6 sides. These are not plain gradients, as you can see below:
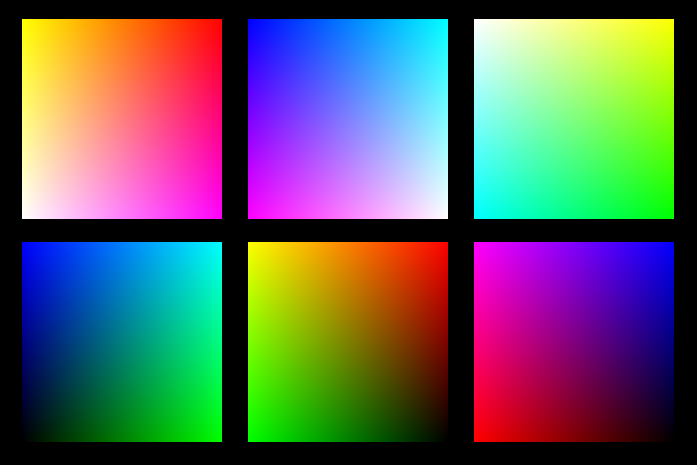 These are basically two linear gradients from left to right, with the topmost one being masked with a gradient from top to bottom. You can use CSS Masking to achieve this (for Chrome/Safari) and SVG Masks for Firefox, but this masks the whole element, which would hide the pseudo-elements needed for the sides. What I needed was masks applied to backgrounds only, not the whole element.
It seemed obvious that the best idea would be to use SVG background images. For example, here is the SVG background needed for the top left one:
<svg xmlns="http://www.w3.org/2000/svg" width="200px" height="200px">

<linearGradient id="yellow-white" x1="0" x2="0" y1="0" y2="1">
	<stop stop-color="yellow" />
	<stop offset="1" stop-color="white" />
</linearGradient>
<linearGradient id="magenta-red" x1="0" x2="0" y1="0" y2="1">
	<stop stop-color="red" />
	<stop offset="1" stop-color="magenta" />
</linearGradient>
<linearGradient id="gradient" x1="0" x2="1" y1="0" y2="0">
	<stop stop-color="white" />
	<stop offset="1" stop-color="black" />
</linearGradient>
<mask id="gradient-mask">
	<rect width="100%" height="100%" fill="url(#gradient)"/>
</mask>

<rect width="100%" height="100%" fill="url(#yellow-white)"/>
<rect width="100%" height="100%" fill="url(#magenta-red)" mask="url(#gradient-mask)"/>

</svg>
However, I didn’t want to have 6 separate SVG files, especially with this kind of repetition (cross-linking to reuse gradients and masks across different files is still fairly buggy in certain browsers). I wanted to be able to edit this straight from my CSS. And then it hit me: I was using SASS already. I could code SASS functions that generate SVG data URIs!
Here’s the set of SVG generating SASS functions I ended up writing:
@function inline-svg($content, $width: $side, $height: $side) {
	@return url('data:image/svg+xml,#{$content}');
}

@function svg-rect($fill, $width: '100%', $height: $width, $x: '0', $y: '0') {
	@return unquote('');
}

@function svg-gradient($id, $color1, $color2, $x1: 0, $x2: 0, $y1: 0, $y2: 1) {
	@return unquote('

	');
}

@function svg-mask($id, $content) {
	@return unquote('#{$content}');
}
And then I was able to generate each RGB plane with another function that made use of them:
@function rgb-plane($c1, $c2, $c3, $c4) {
	@return inline-svg(
		svg-gradient('top', $c1, $c2) +
		svg-gradient('bottom', $c3, $c4) +
		svg-gradient('gradient', white, black, 0, 1, 0, 0) +
		svg-mask('gradient-mask', svg-rect('url(%23gradient)')) +
		svg-rect('url(%23bottom)') +
		svg-rect('url(%23top)" mask="url(%23gradient-mask)')
	);
}

/* ... */

.cube {
	background: rgb-plane(blue, black, aqua, lime);

	&::before {
		background: rgb-plane(blue, fuchsia, aqua, white);
	}

	&::after {
		background: rgb-plane(fuchsia, red, blue, black);
	}
}

.cube .sides {
	background: rgb-plane(yellow, lime, red, black);

	&::before {
		background: rgb-plane(yellow, white, red, fuchsia);
	}

	&::after {
		background: rgb-plane(white, aqua, yellow, lime);
	}
}
However, the same functions can be used for all sorts of SVG backgrounds and it’s very easy to add a new one. E.g. to make polygons:
@function svg-polygon($fill, $points) {
	@return unquote('');
}

@function svg-circle($fill, $r: '50%', $cx: '50%', $cy: '50%') {
	@return unquote('');
}
You can see the whole SCSS file here and its CSS output here.
Warning: Keep in mind that IE9 and some older versions of other browsers have issues with unencoded SVG data URIs. Also, you still need to escape hashes (%23 instead of #), otherwise Firefox fails.